Support retina with Phaser 3
June 3, 2018
You can support retina devices and other pixel ratio's in your Phaser 3 games. In this short blogpost i will explain how and give some tips on how to make your art super crisp.
Update: I updated the code for the Phaser 3.16 scale manager. Some concepts of this tutorial stayed the same and some changed a little bit. Things might still change in the future or not apply to your specific scaling needs. In that case i recommend to familiarize yourself with how the scalemanager works.
Last week i launched a poll on Facebook and asked wether i should use pixel or vector artwork for my next game. The vector squid won the poll and now i was scratching my head on how to make it look not to blurry on retina devices. Pixelart is not that difficult, but vectorart is a different beast. But let's get on with the tech right away.
You can find the source files for this article here if you are more of a code reader.
Device pixel ratio
The first thing you need to know is that there are multiple ratio's with which pixels can be jammed onto a screen. After some search on the internet i found these four ratio's: 100% (normal: 1 pixel is 1 point), 200% (retina: 2 pixels is 1 point), 300% (3 pixels is 1 point) and 150% (1.5 pixels? is 1 point). That last one is rare, but it exists so keep that in mind.
So we will use 4 different sizes of images to support these devices. And only load the one we need.
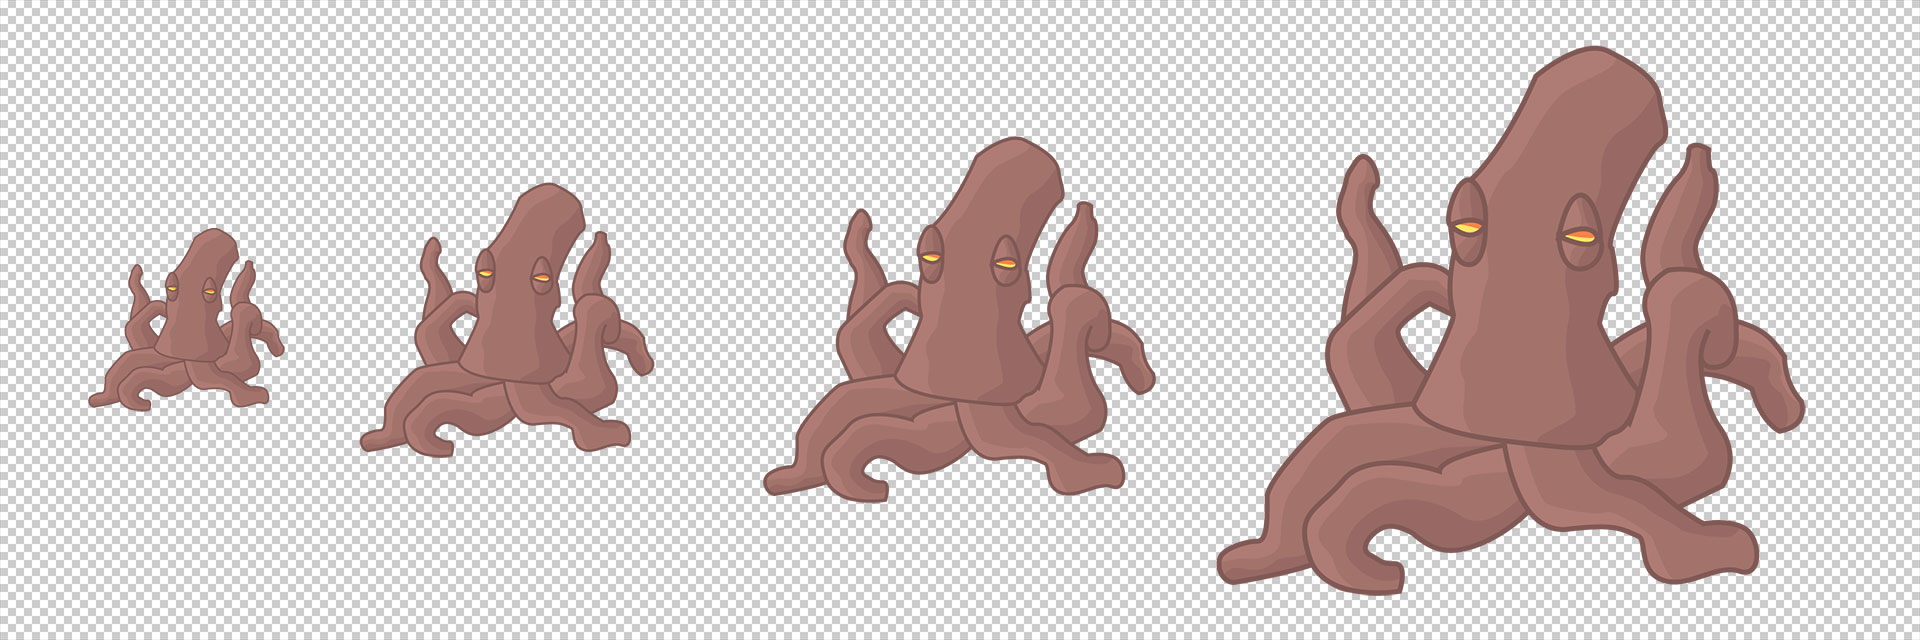
squid@100x.png (320x320)
squid@150x.png (480x480)
squid@200x.png (640x640)
squid@300x.png (960x860)
To check in javascript with what kind of ratio on the current device we are dealing with, we can use the following code:
window.devicePixelRatio
So the code for loading our image will be:
let imageSize = window.devicePixelRatio * 100; // 100, 200, 300 or 150
this.load.image('squid', 'assets/squid@' + imageSize + 'x.png');
This will load only the image we need and then we can use this image in our scene by it's key:
this.image = this.add.image(0, 0, 'squid');
Use the zoom, Luke
But this is not enough. Right now the image will just be twice as big on a retina display and still a little blurry. We want the pixels to map to actual pixels. And we don't want the game to be larger or smaller on certain screens.
Luckily Phaser 3 has something for this that we can set in our game config. It is the zoom property. We need to set this to the inverse of the window.devicePixelRatio.
By setting this we also need to multiply the game width and height with the window.devicePixelRatio. And then the game config becomes something like this:
var config = {
    type: Phaser.WEBGL,
    backgroundColor: '#969fa3',
    pixelArt: true,
    scale: {
        mode: Phaser.Scale.NONE, // we will resize the game with our own code (see Boot.js)
        width: window.innerWidth * window.devicePixelRatio, // set game width by multiplying window width with devicePixelRatio
        height: window.innerHeight * window.devicePixelRatio, // set game height by multiplying window height with devicePixelRatio
        zoom: 1 / window.devicePixelRatio // Set the zoom to the inverse of the devicePixelRatio
    },
    scene: [
        Boot,
        Preloader,
        Level
    ]
};
Extra tips
Making the game responsive
Right now our game fills the entire browser window, but when the window resizes the game doesn't scale, because we set the scale mode to NONE. To solve this i added the following code in the Boot.js file in the demo:
window.addEventListener('resize', this.resize.bind(this));
and
resize ()
{
    let w = window.innerWidth * window.devicePixelRatio;
    let h = window.innerHeight * window.devicePixelRatio;
    // manually resize the game with the Phaser 3.16 scalemanager
    this.scale.resize(w, h);
    // Check which scene is active.
    for (let scene of this.scene.manager.scenes) {
        if (scene.scene.settings.active) {
            // Scale the camera
            scene.cameras.main.setViewport(0, 0, w, h);
            if (scene.resizeField) {
                // Scale/position stuff in the scene itself with this method, that the scene must implement.
                scene.resizeField(w, h);
            }
        }
    }
}
And then in my specific scene class i implement the following:
resizeField(w, h) {
    this.image.x = w / 2;
    this.image.y = h / 2;
}
Super crisp
The last tip i will give you is to round the position of the camera. This will prevent pixels from being drawn at half coördinates.
this.cameras.main.setRoundPixels(true);
Wrap up
Those are all the tricks i have for the moment. You can check out the demo and if you want to dig into the source of the demo you can find it on github.
Good luck!
No comments yet. Be the first.