Procedural generated maze in Phaser 3
January 18, 2019
A nice way to add variety to your game is random levels. In this article i will explain how i made the mazes for Esciit and Acid Sink.
TLDR
Eller's algorithm
Straight to the point: i didn't figure out the math to create these mazes myself. Actually i only had to implement an existing npm-package called generate-maze and visualize the output with Phaser objects. The package is a javascript implementation of Eller's algorithm. The algorithm is said to create 'perfect' mazes, with a single path between any two cells.
The generate-maze library only generates a two-dimensional array of maze cells, which have the following properties:
{
      x: 4,          // Horizontal position, integer
      y: 7,          // Vertical position, integer
      top: false,    // Top/Up has a wall/blocked if true, boolean
      left: false,   // Left has a wall/blocked if true, boolean
      bottom: true,  // Bottom/Down has a wall/blocked if true, boolean
      right: true,   // Right has a wall/blocked if true, boolean
      set: 5         // Set # used to generate maze, can be ignored
}
So a cell has a position and holds data about which sides are open and which sides are closed.
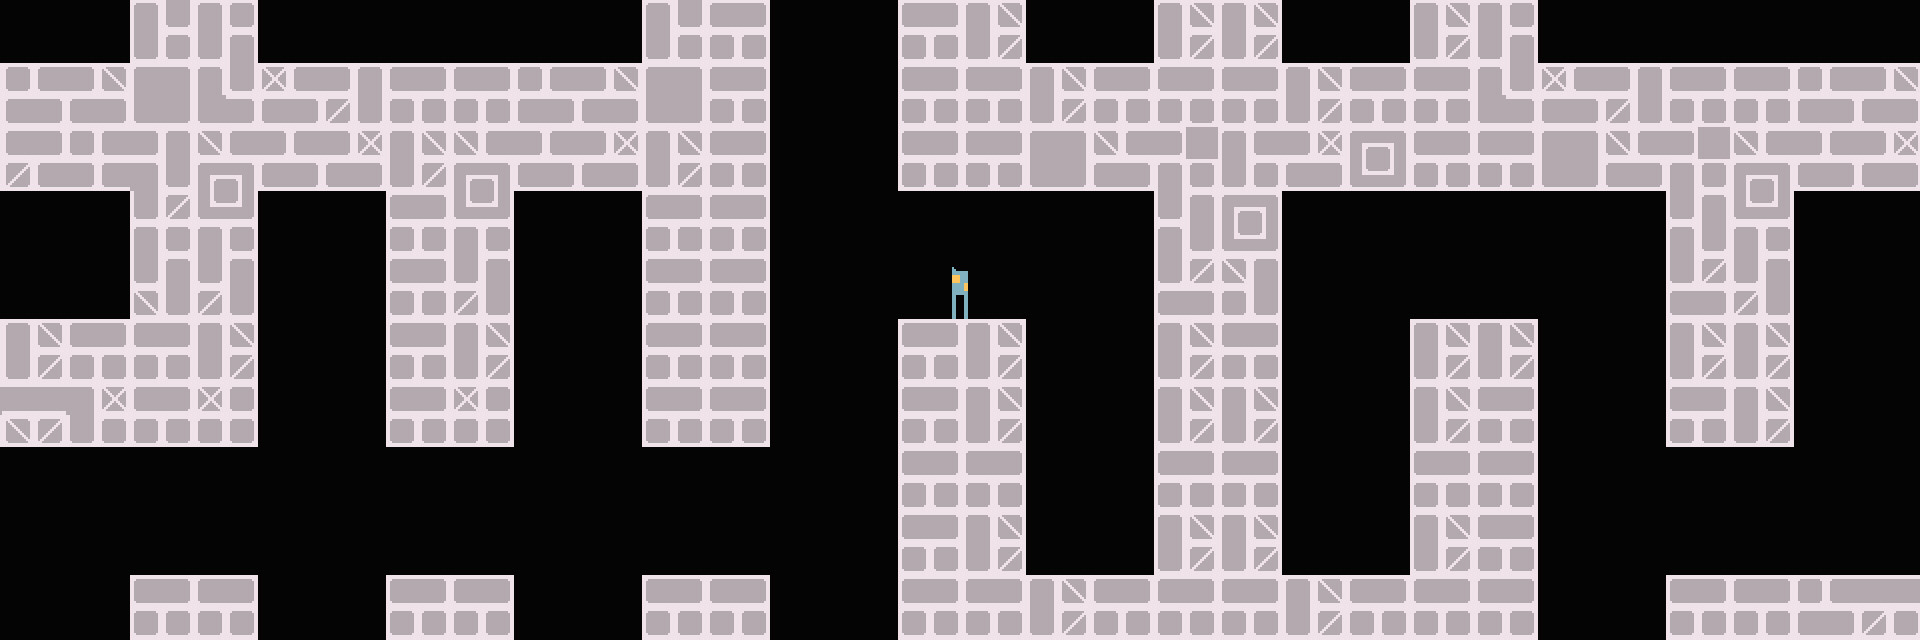
Given the 4 properties top, left, bottom and right there are 16 combinations of walls, minus 1, because the all-four-walls combination never occurs. So there are 15 maze cell types. Thus for my demo i made 15 different tilemaps, which you can see in this image:

You will find the source for each individual tilemap file in the scratch folder. They are .tmx files and you can edit them in the Tiled map editor if you want.
Now we only need some Phaser code to glue them together.
Glue code
The most important code for this demo is in src/plugins/MazePlugin.js and src/scenes/MazeLevel.js.
The MazePlugin is a global Phaser plugin that is available through this.maze in each scene. To generate a new maze data structure you can call:
let maze = this.maze.generate(32, 8);
As long as you don't call the method again the same data is also available via this.maze.maze in any other scene. This is handy if you want to make a minimap, but i'll leave that as a homework assignment.
Once the maze data structure is generated, we need to display the tilemaps. I used to just add them one by one to the scene, but this was not very performant on mobile when i started adding colliders. So then i wrote a function to merge all the data from each tilemap into a single big tilemap and then the performance got a lot better. To get the data for the big map we need to call:
let tiledata = this.maze.createMapData({ key: 'map', shardW: 16, shardH: 16 });
The key is the prefix with which we loaded all tilemaps in our preloader (map1.json, map2.json, map3.json and so on). The shardW and shardH are the number of tiles for the width and the height of each individual part.
Then we can pass the tiledata to a new map like this:
let map = this.make.tilemap({ data: tiledata, tileWidth: 8, tileHeight: 8});
let tiles = map.addTilesetImage('tiles', 'tiles', 8, 8, 0, 0);
let layer = map.createStaticLayer(0, tiles, 0, 0);
map.setCollisionBetween(192, 255);
this.physics.add.collider(this.player, layer);
That's it! Now your players can enjoy a variety of infinite random mazes. There are more useful code pieces in the source code and if you play with the the demo you will see i added an entrance and an exit that restarts the level with a fresh new maze.
Meanwhile keep going!
No comments yet. Be the first.